一、简介
在分布式系统中,由于服务数量巨多,为了方便服务配置文件统一管理,实时更新,所以需要分布式配置中心组件。在Spring Cloud中,有分布式配置中心组件spring cloud config ,它支持配置服务放在配置服务的内存中(即本地),也支持放在远程Git仓库中。在spring cloud config 组件中,分两个角色,一是config server,二是config client。
二、配置
2.1 Spring Cloud Config Server项目
1 pom.xml中导入Config Server需要的包
<dependency>
    <groupId>org.springframework.cloud</groupId>
    <artifactId>spring-cloud-config-server</artifactId>
</dependency>
2 在Application类中添加@EnableConfigServer注解
package com.sunbufu;

import org.springframework.boot.SpringApplication;
import org.springframework.boot.autoconfigure.SpringBootApplication;
import org.springframework.cloud.config.server.EnableConfigServer;

@EnableConfigServer
@SpringBootApplication
public class ConfigServerApplication {

	public static void main(String[] args) {
		SpringApplication.run(ConfigServerApplication.class, args);
	}
}
3 修改配置文件application.yml,指定本地客户端配置文件的路径
spring:
  profiles:
    active: native
  cloud:
    config:
      server:
        native:
          searchLocations: F:/conf
4 准备客户端配置文件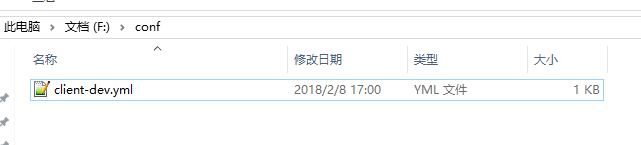 client-dev.yml文件的内容:
server:
  #设置成0,表示任意未被占用的端口
  port: 8081
nickName: world
2.2 Spring Cloud Config Client项目
1 pom.xml中导入Config Client需要的包(注意,此处跟Config Server的配置不同)
<dependency>
    <groupId>org.springframework.cloud</groupId>
    <artifactId>spring-cloud-starter-config</artifactId>
</dependency>
2 在src/main/resources中,新建bootstrap.yml文件bootstrap文件会在application文件之前加载,一般是不会变的。
spring:
  application:
    name: client
  cloud:
    config:
      uri: http://127.0.0.1:8888
      profile: dev
      label: master
资源文件映射如下:
/{application}/{profile}[/{label}]/{application}-{profile}.yml/{label}/{application}-{profile}.yml/{application}-{profile}.properties/{label}/{application}-{profile}.properties
3 新建HelloController用来显示读取到的配置
package com.sunbufu.controller;

import org.springframework.beans.factory.annotation.Value;
import org.springframework.web.bind.annotation.RequestMapping;
import org.springframework.web.bind.annotation.RestController;

@RestController
public class HelloController {

	@Value("${nickName}")
	private String nickName;

	@RequestMapping("/hello")
	public String hello() {
		return "hello " + nickName;
	}

}

三、总结
源码地址 总觉的使用svn或者git不如直接修改配置文件方便,特此记录下来。